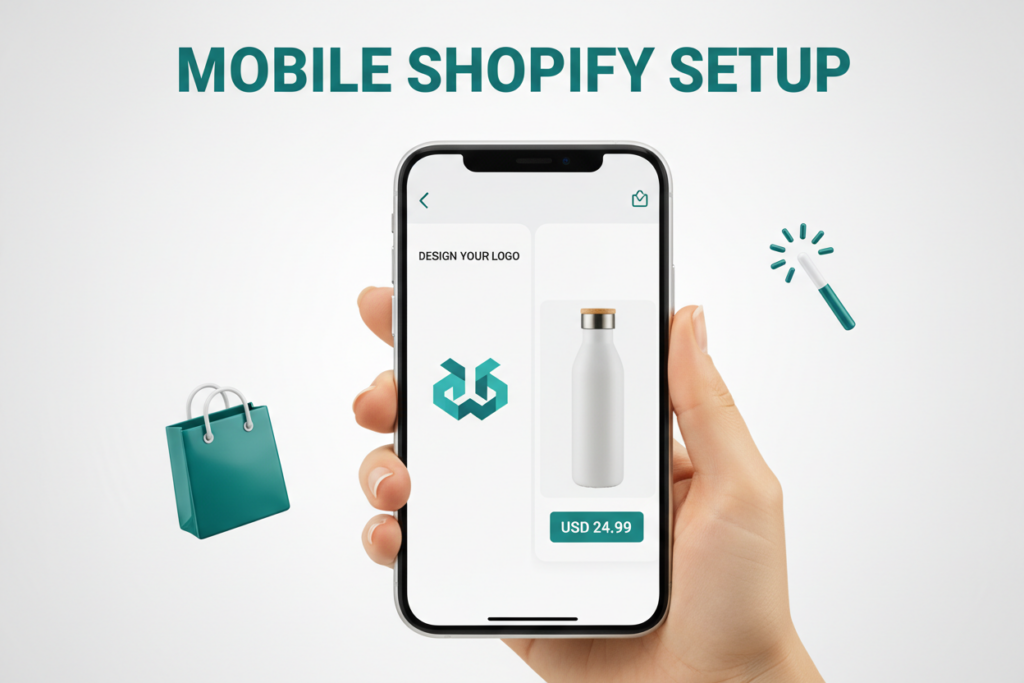
The idea that you need a multi-screen desktop setup to build a professional online store is dead. In 2026, Shopify has optimized its mobile experience so much that you can go from “Idea” to “Live Store” while sitting on your couch with just your smartphone.
Building a Mobile E-commerce Business is about speed and execution. If you have already Validated your Product Idea, it’s time to build your digital storefront.
Here is the exact step-by-step process to launch your Shopify store from your pocket.
Affiliate disclosure: This post contains affiliate links. If you make a purchase through one of these links, ProBusinessStrategy may earn a small commission at no extra cost to you. We only recommend tools we genuinely believe in.
Step 1: Account Creation & Naming
First, you need to create your account. This is the foundation of your Mobile Empire.
The Workflow:
Download the Shopify App or go to Shopify.com on your phone’s browser. Sign up with your business email. When choosing a name, don’t overthink it—you can change your store’s display name later. However, make sure your URL is short and memorable.
Step 2: Selecting a Mobile-Responsive Theme
In 2026, 80%+ of your traffic will come from phones. Therefore, your store must look perfect on a small screen.
The Strategy:
Go to the Shopify Theme Store within the app. Look for “Dawn” or other OS 2.0 themes. These are built for speed and mobile responsiveness. Avoid heavy, complex themes. Consequently, your Mobile Marketing efforts will convert much better if your site loads fast.
Step 3: Adding Your First Product
This is where your Validated Product Idea becomes real.
The Mobile Secret:
Use your phone’s camera to take high-quality, clean photos of your product. Use a “Background Remover” app if needed. Furthermore, write your product description directly in the app. Use Jasper AI on your phone to craft high-converting copy that focuses on benefits rather than just features.
Step 4: Setting Up Your Domain & Branding
A professional store needs a professional URL. A .myshopify.com link looks amateur.
The Tactic:
Connect your domain (we recommend using Namecheap for the best mobile management). After that, upload your logo. If you don’t have one, use Kittl on your phone to design a high-end logo in minutes. This is a crucial step in your Business Management process.
Step 5: Connecting Payments & Legal Pages
Your store is useless if people can’t pay you. In addition, you must be legally compliant.
The Checklist:
Set up Shopify Payments or connect PayPal. This ensures you can accept credit cards instantly. Subsequently, use Shopify’s automated generators to create your Privacy Policy, Terms of Service, and Refund Policy. For more on the “boring but important” side, check our Legal & Tax Guide.
Step 6: The “Pre-Flight” Test & Launch
Before you share your store on TikTok, do a test purchase.
The Final Check:
Open your store in your phone’s browser. Can you navigate easily? Is the checkout smooth? If everything looks good, disable your password and go live! You are now officially an e-commerce store owner.
Conclusion: Done is Better Than Perfect
You can spend weeks tweaking your store, or you can launch today and start gathering data. Remember, your store is a living project. You can always improve it as you go. The most important step is to get that first Daily Content Post live to drive traffic to your new store.
Drop a link to your store (or your idea) in the comments! We’d love to see what you’re building.